Mounting Outdoor Wall Lights on Insulated Walls
Mounting Outdoor Lights on Insulated Walls: Threaded Rods and Special Fixings from Specialist Retailers
Mounting an outdoor light on an insulated wall requires a certain level of technical skill. It is also important to take the manufacturer's specifications regarding insulation thickness into account. Flat wall lights are generally easier to install than wall lanterns with a long, projecting arm.
Threaded rods and special insulation fixings are often used for installation. If in doubt, the installation of an outdoor light on an insulated façade should be left to a qualified professional. For DIY installation, we recommend suitable mounting anchors, such as those available from Brillux.
Mounting Low-Profile Wall Lights
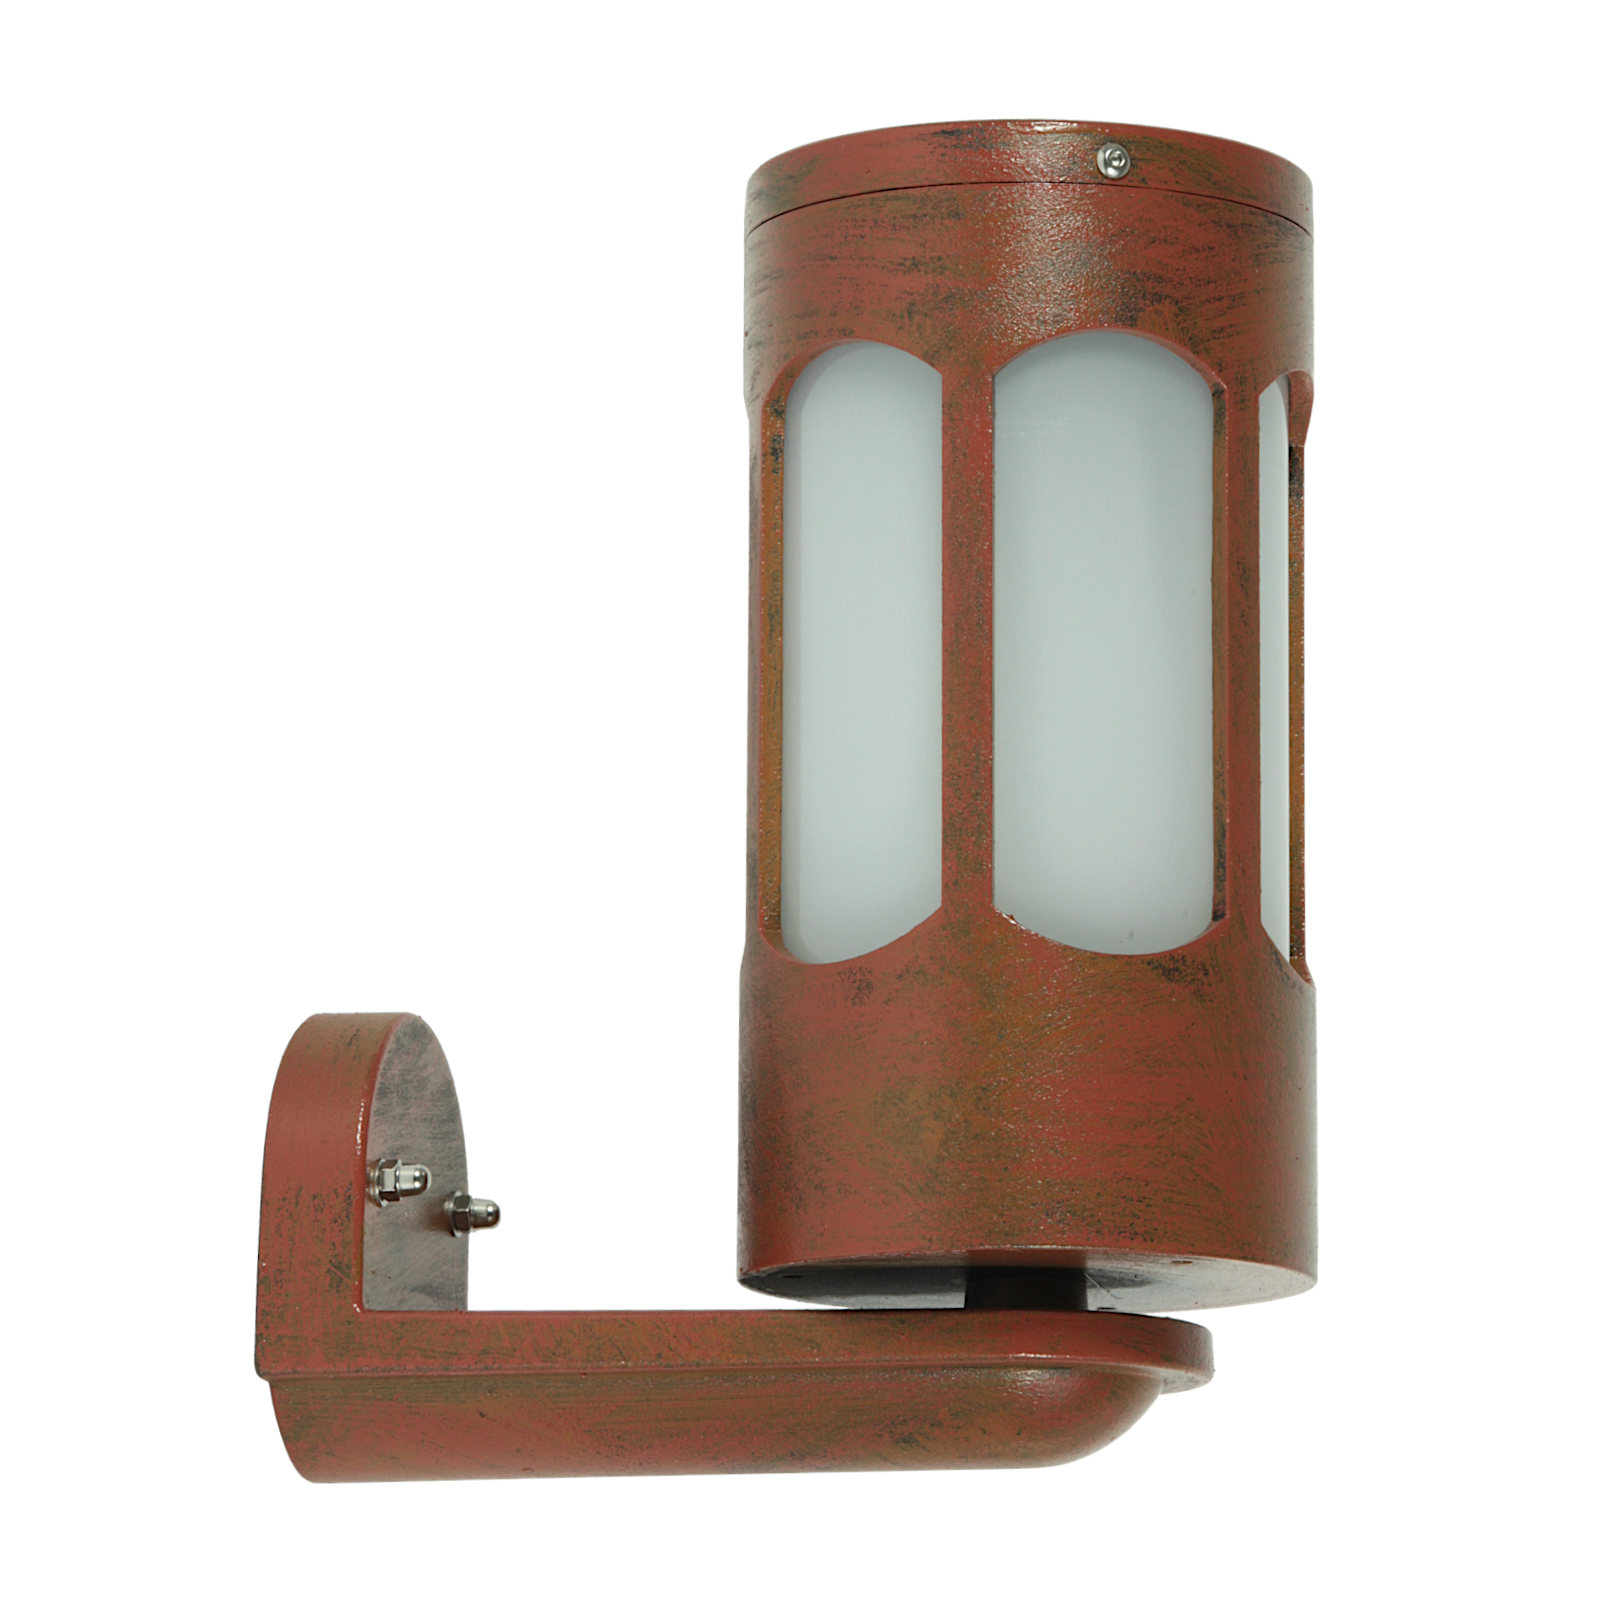
Lightweight, flush mount wall lights can be mounted using special insulation anchors. Their threaded spiral cuts securely into the insulation board, providing a suitable fixing point for attachments such as lights or motion sensors.
How to Mount an Outdoor Light on an Insulated Wall
Installing an outdoor light on an insulated façade requires particular care to avoid damaging the insulation and to ensure a secure fixing. The following methods and steps can help you choose the appropriate installation solution.
1. The Challenge of Insulated Façades
Insulation generally consists of relatively soft materials such as expanded polystyrene (EPS) or mineral wool, which do not provide a sufficiently stable fixing on their own.
Incorrect drilling can damage the insulation and create thermal bridges, potentially reducing the energy efficiency of the façade.
2. Suitable Fixing Methods
Special Insulation Anchors
Use special anchors designed specifically for soft insulation materials. These are screwed directly into the insulation and provide a secure fixing point. They are suitable for lightweight to moderately heavy outdoor lights.
Mounting Systems for Insulated Façades
For heavier lights, use dedicated mounting elements such as insulation mounting anchors or stand-off mounting systems. These transfer the load of the light through the insulation and into the load-bearing wall behind it.
Such systems help prevent pressure points and minimise the risk of thermal bridging.
3. Step-by-Step Installation Guide
Plan the Position
Mark the location where the light is to be installed. Make sure that the electrical connection is readily accessible.
Choose the Appropriate Fixing Method
For lightweight lights: insulation anchors or suitable adhesive mounting systems.
For heavier lights: mounting elements that extend through the insulation and are securely anchored to the load-bearing wall.
Install the Anchor or Mounting Element
Drill carefully through the insulation, taking care not to damage the façade. Install the insulation anchor or mounting element according to the manufacturer's instructions.
Mount the Light
Securely attach the light to the anchor or mounting plate.
Make the Electrical Connection
Route the electrical cable through the opening provided in the light and make the electrical connection correctly. If you are unsure about any aspect of the electrical installation, have the work checked or carried out by a qualified electrician.
Seal the Penetration
Seal the area around the fixing point to prevent water and moisture from penetrating the façade.
4. Additional Tips
Consider the load: Check the weight of the light and make sure that the selected fixing system is designed to support it safely.
Avoid thermal bridges: Use mounting systems specifically designed for insulated façades and intended to minimise thermal bridging.
Seek professional advice: If you are unsure which fixing method is appropriate, consult a specialist in façade or electrical installations.