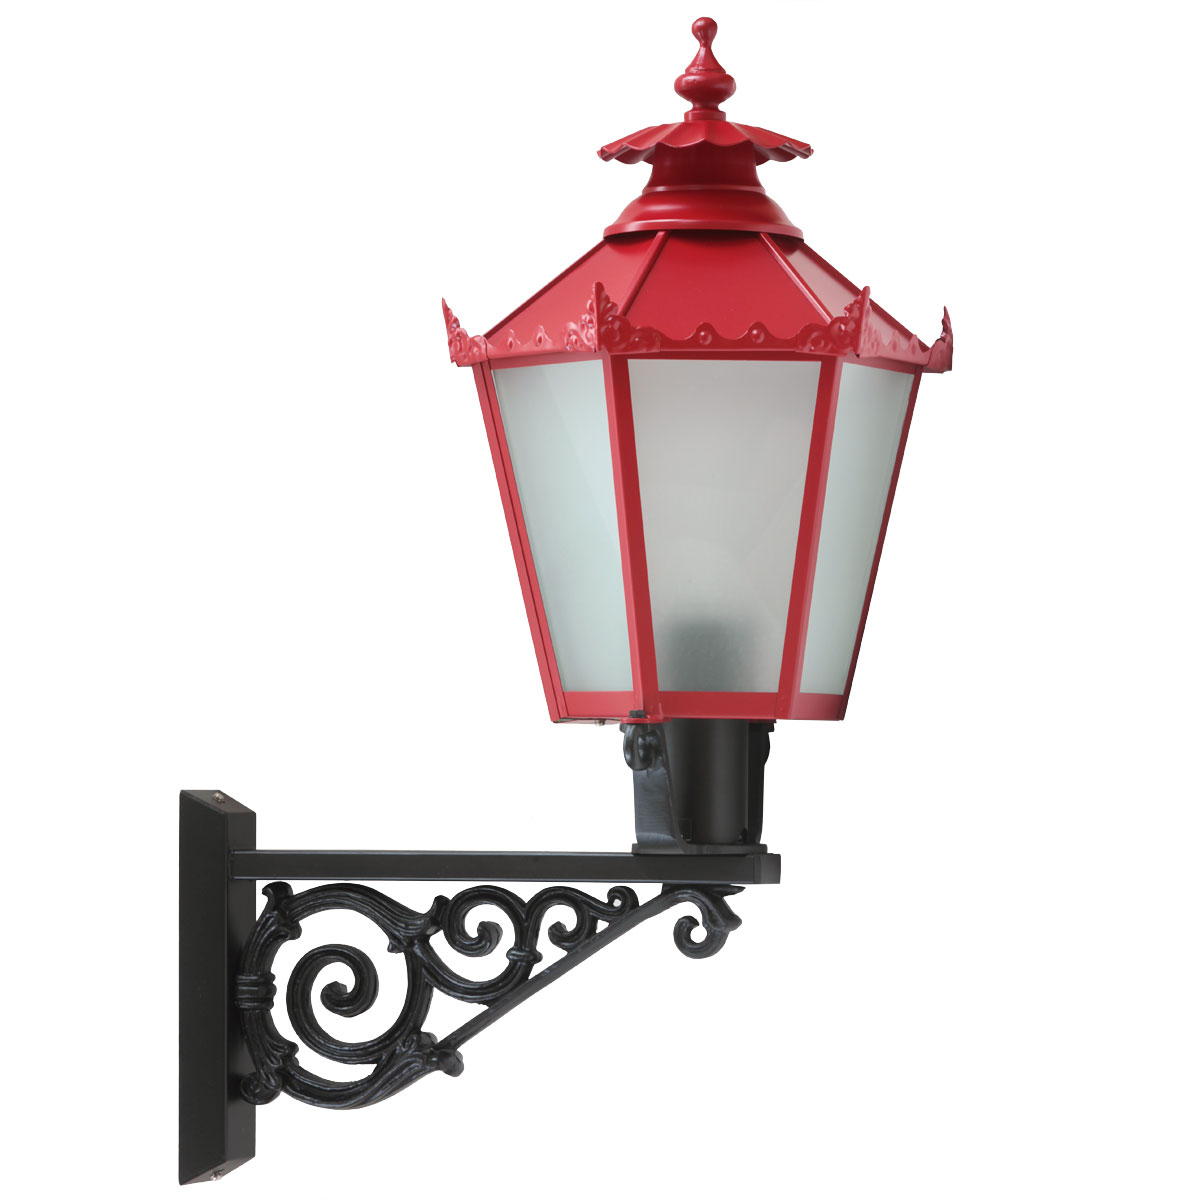
Outdoor Wall Light Installation Guide
How to Mount an Outdoor Wall Light
Properly installing an outdoor wall light needs careful planning, unless the work is carried out by a qualified electrician. Depending on the fixture, the mounting location, and the existing electrical wiring, the individual steps can vary. Outdoors, suitable protection against moisture and weather must be considered, along with the applicable electrical regulations. To ensure the installation goes safely and efficiently, there are a few basic steps and safety precautions to keep in mind.
1. Preparation and Safety Precautions
Before starting the installation of the outdoor wall light, a few preparations should be made:
- Switch off the power: Switch off the power at the fuse box to avoid electric shock. Use a two-pole voltage tester to check that the wires are actually dead. Never use, outdoors, the single-pole "phase tester" common in many households that looks like a screwdriver with a transparent handle: this tester — often nicknamed the "liar's pen" — is highly unreliable, and therefore potentially life-threatening.
- Have your tools and materials ready: The tools you'll need include a power drill, a screwdriver, wall plugs and screws, cable connectors, a tape measure, and if necessary, a wall-plug assortment. The outdoor wall light itself, its mounting bracket, and any included installation instructions should also be within reach. And it's easier with two people!
2. Choosing the Mounting Location for the Outdoor Wall Light
Choose a suitable location for the outdoor wall light:
- Access to the power connection: The outdoor wall light should be mounted near a power connection or existing outdoor wiring.
- Height and orientation: The outdoor wall light should be mounted so that it illuminates a sufficient area without causing glare. For front door lighting, a height of about 1.80 to 2.20 meters is often ideal, though on older buildings with tall entrance doors it can also be as much as three meters.
- Weather protection: Make sure the outdoor wall light is protected from direct contact with rain, even though outdoor fixtures are usually weather-resistant.
3. Drilling and Fastening the Wall Bracket
- Marking the drill holes: Hold the outdoor wall light's mounting plate against the wall and mark the position of the fixing holes. Use a spirit level to make sure the fixture will hang straight.
- Drilling the holes: Drill the marked points using a suitable drill and a bit matched to the wall type (e.g., concrete, brick, or wood). Make sure to drill the holes to the correct depth and diameter.
- Inserting wall plugs and screws: Insert wall plugs into the drilled holes and fasten the fixture's wall bracket using the screws provided.
4. Connecting the Electrical Wiring for the Outdoor Wall Light
How the electrical wiring is connected varies by model, but the following steps are generally required:
-
Preparing the cable connection: Carefully strip the insulation from the cable ends, exposing about 1 to 2 cm. Be careful not to damage the wires.
-
Wiring: Connect the fixture's wires to the corresponding wires of the power supply. These are usually:
- L (live): Usually red or brown
- N (neutral): Blue
- PE (earth): Green-yellow (if present)
Make sure the wires are firmly connected and that no bare wire is exposed.
-
Using cable connectors: Use cable connectors to secure the connections. These prevent the wires from coming loose or coming into contact with the wall.
5. Mounting the Outdoor Wall Light and Checking the Installation
- Attaching the outdoor wall light: Place the outdoor wall light onto the wall bracket and screw it firmly in place. Some models require additional sealing to prevent moisture from getting in. Before tightening fully, check that the fixture is correctly aligned.
- Safety check: Check all connections and make sure no wires are loose and no insulation is damaged.
6. Restoring the Power Supply and Testing
Now switch the power back on and test the fixture. If it doesn't work, check all the connections again and make sure the light is correctly installed and wired.
7. Troubleshooting
If the light doesn't work:
- Check the circuit: Make sure the power supply was correctly restored.
- Check the fixture itself: Test the light on a different socket or connection to confirm it's working.
- Check the wiring: Wires may have come loose during installation or may not have been connected correctly.
Maintenance and Care of the Outdoor Wall Light
Outdoor wall lights are regularly exposed to weather and outdoor conditions. Regular inspection and maintenance of wall lanterns or barn lights extends their lifespan and functionality. Watch for signs of corrosion or damage to the fixture or its wiring. Clean the fixture of dust, dirt, and buildup to ensure optimal light output.
You can find more on this in the article: Care Tips for Outdoor Lamps.
In Closing
With the right tools and a bit of technical know-how, mounting an outdoor wall light is a manageable job. Key aspects include choosing the right mounting location, wiring it correctly, and observing the necessary safety precautions when working with electricity. A clean, professional installation not only gives you pleasant lighting, but also adds extra security to your outdoor space.